Complete Guide: Software Development Process in 14 Steps
The software development process is a structured approach used by individual software developers or public companies to transform an idea into a functional product.
Like manufacturing a table requires a set of actions – from selecting the suitable materials and crafting each component to assembling the final product – the software development process involves a series of well-known steps. These steps include planning, designing, coding, testing, and deployment.
Although the path is well-defined, the nuances of the process differ from company to company. The gap between a professional and unprofessional software provider hides in this difference in the guidelines the company follows, in the quality standards it adheres to, and in the management practices it uses.
That’s why it’s a good idea to examine the practical approach of a single software development company rather than reading about the theory of the software development lifecycle. Let’s dive in.
SumatoSoft’s Development Process

We, at SumatoSoft, have structured our development process around several key principles:
- transparency in cooperation;
- focus on business value delivery;
- close collaboration with the Client.
We have a well-defined workflow that is aligned with these principles, and you are about to read about it.
Our process is organized into 8 steps (or phases), one of which is iterative and includes several sub-steps. In each phase, we’ll outline what you will experience and contribute alongside the core activities our team performs behind the scenes to drive the project forward. These sections are called “Visible to the Client” and “Behind the Scenes” appropriately.
The development process starts when we sign a contract.
Let’s get the ball rolling!
Project Kickoff
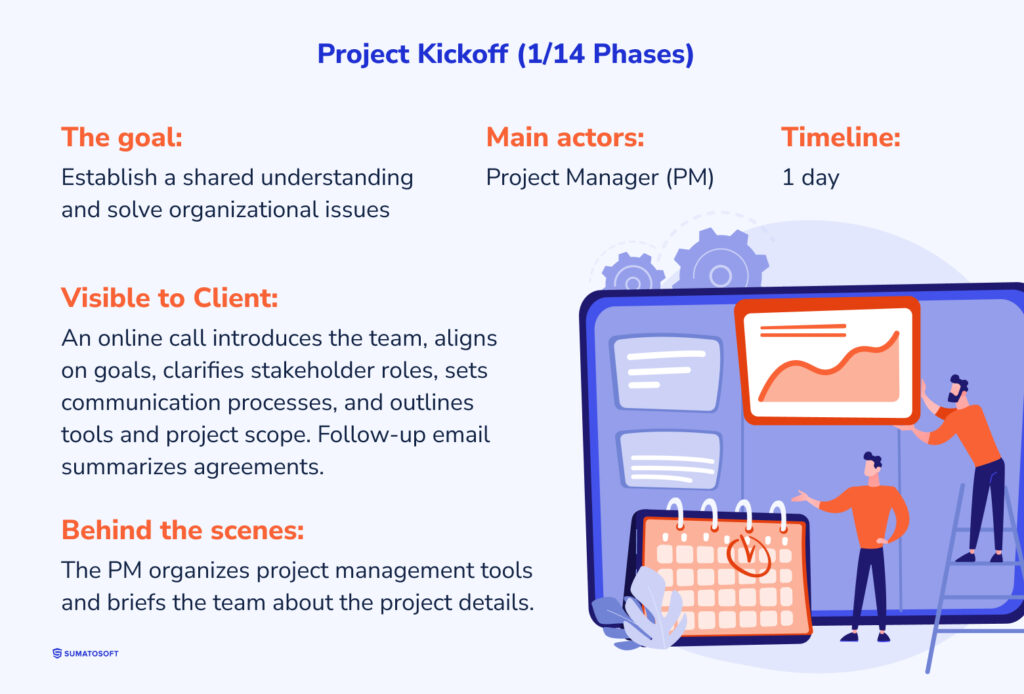
The project kickoff is our official starting point. In this phase, we bring together all key participants – our team and yours – to ensure we share a common ground on this project.
The goal here is to establish a shared understanding among all participants and solve organizational issues.
The main actor here is the project manager.
This step requires a day.
Visible to Client:
We run an online call where you can meet our development team. The core specialists you will see here are a project manager (PM), business analyst (BA), TechLead, and a designer if design work is required.
During this call, we will:
- Discuss your expectations of milestones and results. For example, if you need prototypes early, we will prioritize their delivery.
- Align with you on your business goals and expectations from our services.
- Identify all stakeholders from your side and clarify their goals. Sometimes, Clients bring in their own technical specialists.
- Set up the communication process, agreeing on channels and frequency. We typically use Slack for informal messaging, Confluence and email for formal documentation, and Google Meet or Zoom for calls.
- Introduce you to our Agile approach, we’re introducing and agreeing on the development approach, which fits better for your project.
- Outline the tools we’ll be using and answer any questions from your side. We can provide access to our task tracking system (JIRA) for real-time progress tracking, or use your own system if preferred.
- Outline high-level project requirements and scope if necessary.
This call typically lasts up to an hour. Afterward, you’ll receive a follow-up email summarizing our key agreements and next steps.
Behind the Scenes:
Before our kickoff meeting, our team makes careful preparations to ensure the project starts smoothly.
- Our resource manager assigns specialists to the project after analyzing the project scope and requirements.
- The project manager (PM) sets up a project workspace in tools like Jira and Confluence, organizing documentation and outlining initial project processes.
- The project manager (PM) prepares Excel sheets for managing scope, budget, and timeline, including risk assessment and mitigation strategies.
- The project manager (PM) briefs our team on the project’s background and goals, making sure everyone is ready to take on the project.
Discovery
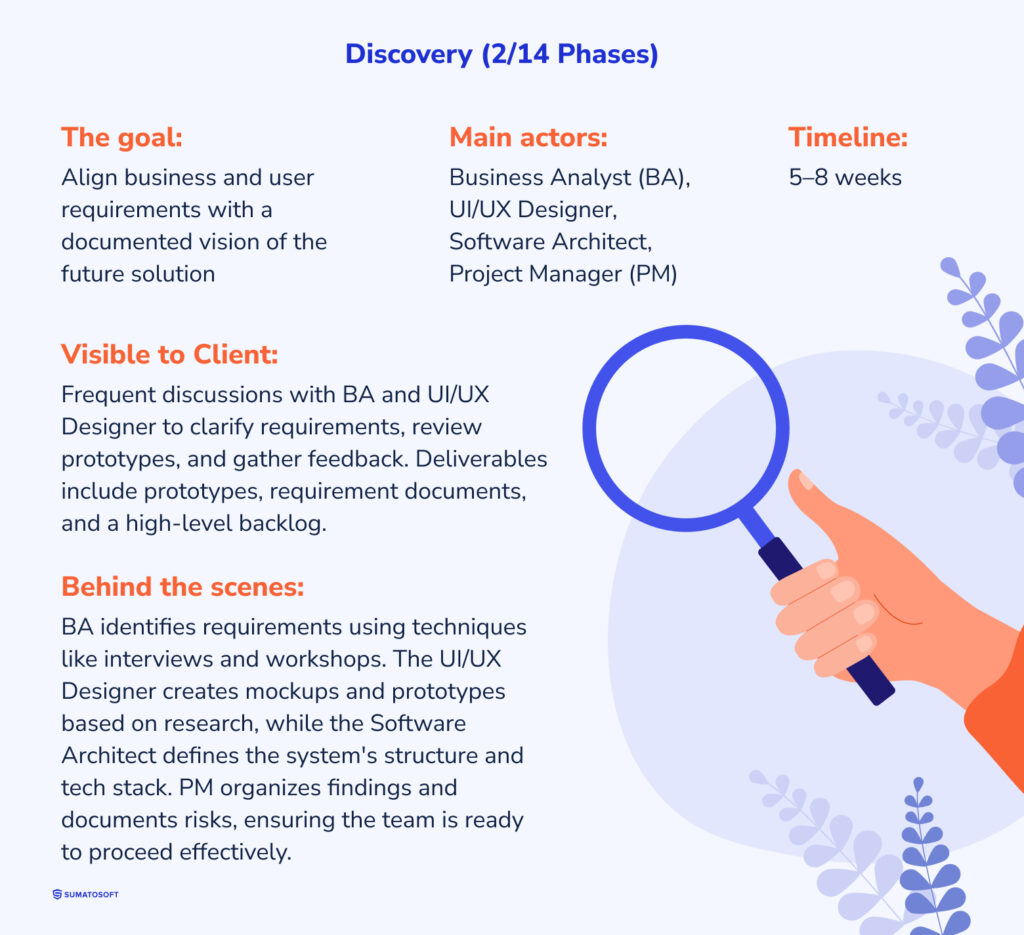
The discovery phase (also known as the business analysis phase) is where we examine and document business and user requirements, establish a vision for the future solution and prepare initial prototypes and designs.
This step is highly flexible and can be adjusted based on the Client’s goals. For example, large projects or those without documented requirements may benefit from an extended discovery phase focused on deep research. In contrast, for smaller projects or when detailed specifications are provided, a separate discovery phase can be skipped, with its activities integrated into the initial development stages.
Additionally, if the Client plans to seek investors, we can prioritize developing an interactive prototype and detailed functional descriptions along with detailed cost estimations.
The goal of this step is to align business and user requirements with a documented vision of the future solution.
The main actors here are the BA and the UI/UX Designer, the Software Architect and the PM as a support and coordinator.
A separate discovery phase typically takes 5 to 8 weeks.
Visible to Client:
During the Discovery phase, you’ll have frequent discussions with our business analyst (BA) and UI/UX Designer to ensure we capture all the details required for the final product. An Architect or a Tech Lead also may take part in the discovery phase. Here’s what you can expect:
- A planning call where the BA, PM, and UI/UX Designer explain the discovery process, agree on the expected outcomes from this phase, define the stakeholder who will approve the business and solution requirements, and arrange regular meetings to discuss solution requirements and demonstrate the work done.
- Regular calls 2-4 times a week, during which BA and UI/UX Designer will ask specific questions to clarify specific aspects of the system. For example, they might ask to list all actors or roles involved in the process we’re going to automate or who the main competitors are, so we can analyze them and identify features that will help to outperform them.
- Demo calls are demo sessions where the BA presents the results in the form of diagrams, requirement descriptions, and solution architecture, while the UI/UX Designer showcases design concepts or prototypes, which are the block structures on the interfaces in black and white colors.
We’ll keep you highly engaged in this phase, with regular feedback sessions to adjust requirements as needed. Often, additional requirements emerge once you see the initial designs – it’s an essential part of the process to ensure nothing is missed. You’ll also interact with our specialists through tools like Miro, Figma, and Slack.
Our specialists can also work on this phase at your place since many activities can be completed in a fairly limited time while working on-site. Read more about the role of the Discovery Phase in our blog.
Behind the Scenes:
Our specialists work hard in front of the computers, collaborate over calls, and apply their expertise and skills to shape a solid foundation for your software product. As we’ve mentioned, there are 3 core roles here: the Business Analyst (BA), the UI/UX Designer, and the Software Architect.
To identify and document requirements, the Business Analyst (BA) uses around 20 techniques like stakeholder interviews, hosting workshops, business rules analysis, and more. The exact techniques to use depend on various factors like the goals, agreed outcomes, business environment, project stage, access to end users, etc.
The UI/UX Designer should also be aware of the business context to draw well-conceived user interfaces. They participate in calls alongside the BA and aim to understand the business problems and goals, the competitor landscape, and the needs and behavior of the end users.
Based on this research and agreed outcomes, the designer prepares detailed/high-level user interfaces, mockups, mood boards, interactive prototypes, or other design assets as needed to support business goals.
The design process involves rounds of revisions to refine early concepts based on your or end-user feedback. After presenting initial ideas, we incorporate two to three major rounds of revisions to systematically address comments and adjust the design direction. Depending on your preference, we can either design all pages at once or start with key screens of the user interfaces and proceed iteratively during the development phase.
The Software Architect is responsible for the technical aspect of the final product. They design the system’s overall structure, identify the main components and modules and how they will interact, choose the tech stack, framework and tools, and identify potential technical risks, limitations and bottlenecks.
critical role in defining the high-level structure and design of the application. It outlines the system’s components, their interactions, and key technical choices, providing a foundation that aligns with both business goals and technical requirements. This early architectural planning helps ensure scalability, security, and performance, guiding development and minimizing risks as the project progresses.
The Project Manager (PM) compiles findings and organizes them in our central repository Confluence, or in your chosen repository if preferred. The PM also documents high-risk areas of the project and mitigation strategies.
In some cases, the QA team may also join this phase to review requirements and add early input. Their involvement ensures fewer bugs during the development, which cuts costs and fastens the development.
The tangible results (deliverables) vary depending on the project, but two core outcome items that we prepare for any project are a high-level product backlog, detailed costs and timelines estimations, and identified high-risk areas with appropriate mitigation strategies.
Once again, this step is crucial for the whole development because we draw the roadmap here. The functional scope is required for precise estimation and the development process because the team needs clear direction on what to build and in what order.
Project Iterations Begin
Project iterations are usually two-week development cycles, known as sprints in Agile methodology, where we focus on delivering specific, functional parts of the product. The cycle length could be easily altered to 3, 4, or any other number of weeks to fit the specifics of a given project.
Every sprint includes several steps:
- sprint planning;
- sprint running;
- testing;
- sprint stabilization;
- demo.
Two more additional steps are out of the usual sprint cycle, but still a part of the iterative development:
- sprint acceptance;
- sprint retrospective.
The goal of each sprint is to deliver a functional piece of the product that adds value and moves the project closer to completion.
The main actors here are BA, UI/UX Designer, PM, QA, TechLead, and Developers (so literally the whole development team).
Each iteration takes two weeks, with the total number of sprints varying by project scope. The final project duration, on average, ranges from 4 to 6 months.
Sprint 0: Development Setup
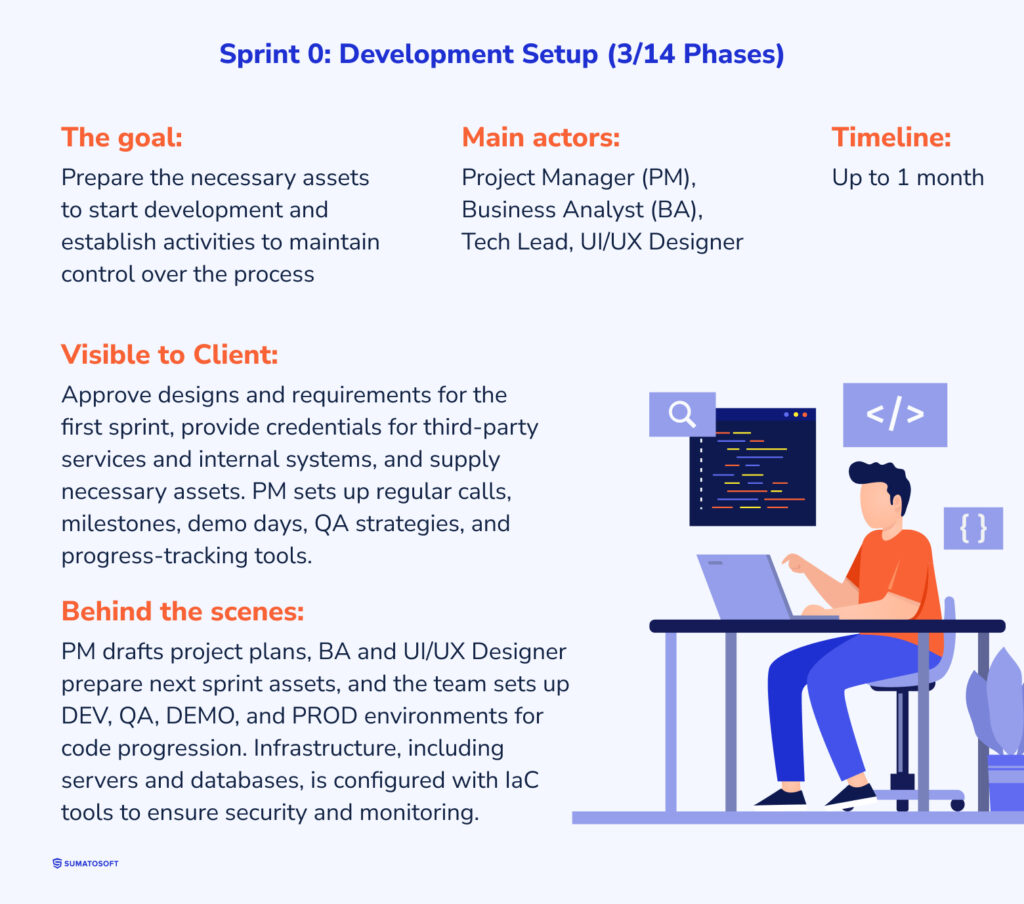
Sprint 0 is our setup phase, where we prepare everything necessary to start the first development sprint. It includes:
- the approval of the detailed solution requirements and design for sprint 1;
- prepare the technical environment;
- getting access to third-party services, if required for the next sprint;
- getting access to the internal Client systems, if required for the next sprint;
- getting devices for IoT projects, if applicable;
- defining the business analysis approach if the Discovery phase was skipped;
- planning activities from the PM side (more on this is in the next section).
The goal here is to prepare the necessary assets to start development and establish activities that maintain control over the development process.
The main actors are the Project Manager (PM), Business Analyst (BA), Tech Lead, and UI/UX Designer.
The phase usually takes up to a month.
Visible to Client:
In this phase, your main activities will include approving the design and requirements for the first sprint, providing necessary credentials for third-party services, internal systems, and databases, as well as supplying any specific documentation or devices needed for development. If no discovery phase was conducted, this sprint serves as the starting point for gathering the necessary information for development.
There might be several calls with TechLead to clarify technical requirements.
Another major aspect here is PM’s activities:
- creating and approving the plan for team involvement;
- approving the QA strategy, which is a short one-page document in confluence. It contains information about the devices we test, the most important areas of the product, and test types to run.
- setting up regular call schedules, milestones, deliverables, and demo days;
- provide access to our internal system to monitor the progress;
- defining methods for approving requirements and sprint scopes (orally or in writing).
Behind the Scenes:
The PM monitors the team, gets the necessary assets to start the development, and regularly communicates with you to establish transparent communication. Additionally, the PM drafts a project plan that includes timelines, team roles, and risk mitigation strategies.
The BA and UI/UX Designer prepare the necessary assets for the next sprint and communicate with you to approve their work (more on this in the planning phase of the sprint).
We organize a virtual space where we install all project technologies and store the code itself. This is called the environment. The dev team sets up 4 development environments: DEV, QA, DEMO, and PROD. Code will move progressively through these environments:
- DEV is for the development team where they write the code.
- QA includes only developed features, used for testing by the QA team.
- DEMO includes only tested features, used for demo and testing by the Client.
- PROD when you accept the feature, it moves to the prod environment, which is used by end users.
All environments are connected to a monitoring and logging system, allowing us to detect and address any problems in the product and infrastructure promptly and run automated tests when features move through environments.
We also set up infrastructure such as servers, networks, databases, storage, and configurations and employ Infrastructure as Code (IaC) tools to track and manage infrastructure changes. These tools help us monitor the state of the infrastructure, ensuring no unauthorized modifications have been made.
Planning phase
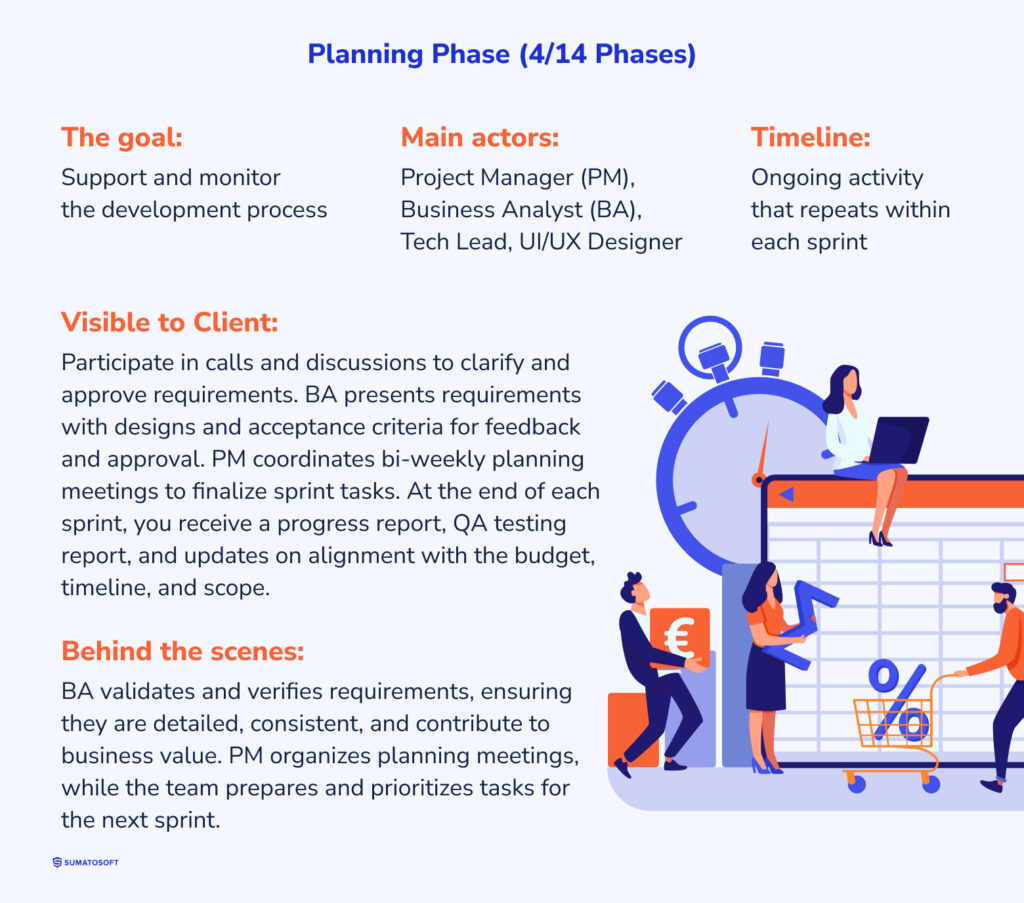
The planning phase is an ongoing activity during every sprint, focused on two main objectives: supporting and controlling the development process. This involves preparing and finalizing requirements and user interface designs for the next sprint, checking the project status, identifying any blockers, and generating progress reports.
Every sprint’s planning activity ends every other Monday (or every N Monday depending on our agreements) when we freeze the features and scope for the following sprint.
The goal here is to support and monitor the development process.
The main actors are the Project Manager (PM), Business Analyst (BA), Tech Lead, and UI/UX Designer.
Ongoing activity that repeats within each sprint.
Visible to Client:
The main activities here are calls and discussions, requirements and design approval.
The BA has regular, up to one-hour calls, usually twice a week, to clarify and approve requirements for the next sprint. When you see the solution unfold, you might recall additional details or needs that the BA will document. This helps us to ensure the final product meets your requirements.
The BA shows the requirement, its design options, if applicable, and acceptance criteria, which are the conditions for checking whether the developed product meets this requirement. You can ask questions, make adjustments, prioritize a feature over others, and verify that the documentation meets your needs. Approval can be informal (verbal agreement) or formal (written comments), depending on your preferences.
Two BA activities are particularly important: requirements validation and verification.
- Validation ensures that each identified requirement contributes to the project’s business value, so we only document requirements that truly matter.
- Verification ensures that requirements are developed in enough detail to be usable by a particular stakeholder, are internally consistent, and are of high quality.
The Project Manager (PM) coordinates a bi-weekly planning meeting where we finalize tasks for the next sprint. By this stage, requirements are typically approved, so we focus on selecting which tasks to include in the sprint based on priorities and readiness.
At the end of every sprint, you will get a report from the PM with info about the project’s progress, a testing report from the QA team, and project alignment with budget, timelines, and scope.
Behind the Scenes:
We continue to work on the computers and collaborate via calls. We may still look glued to our screens, but don’t be fooled – the tasks have changed even if the posture hasn’t.
Here is what we do:
- The BA collaborates with the UI/UX Designer and the Tech Lead to align requirements with user interface designs and technical possibilities. You may participate in these discussions as needed.
- The UI/UX Designer prepares design options aligned with the documented requirements, creating mockups, prototypes, or specific user interface elements. These designs go through internal reviews to ensure usability and aesthetics. If all user interfaces were finalized in the Discovery phase, the UI/UX Designer simply refines them if any related requirements have changed.
- At the end of every sprint, the entire team holds a sprint refinement session to review and clarify tasks for the next iteration. Developers, QA specialists, and other team members discuss each requirement, ask questions, and propose alternatives if technical challenges arise. If any requirement cannot be implemented as initially planned, the PM discusses available options with you.
- Throughout the sprint, the PM uses Earned Value Management (EVM) where they track several metrics:
- Planned Value (PV): Budgeted cost for planned work.
- Actual Cost (AC): Actual cost spent on work performed.
- Earned Value (EV): Budgeted cost for work actually completed.
- Schedule Variance (SV): Difference between planned and actual progress.
- Cost Variance (CV): Difference between planned and actual costs.
- These metrics help the PM monitor budget and schedule performance, keeping development on track and addressing any deviations proactively. Progress reports based on these metrics summarize the project status, completed tasks, and budget updates.
Development
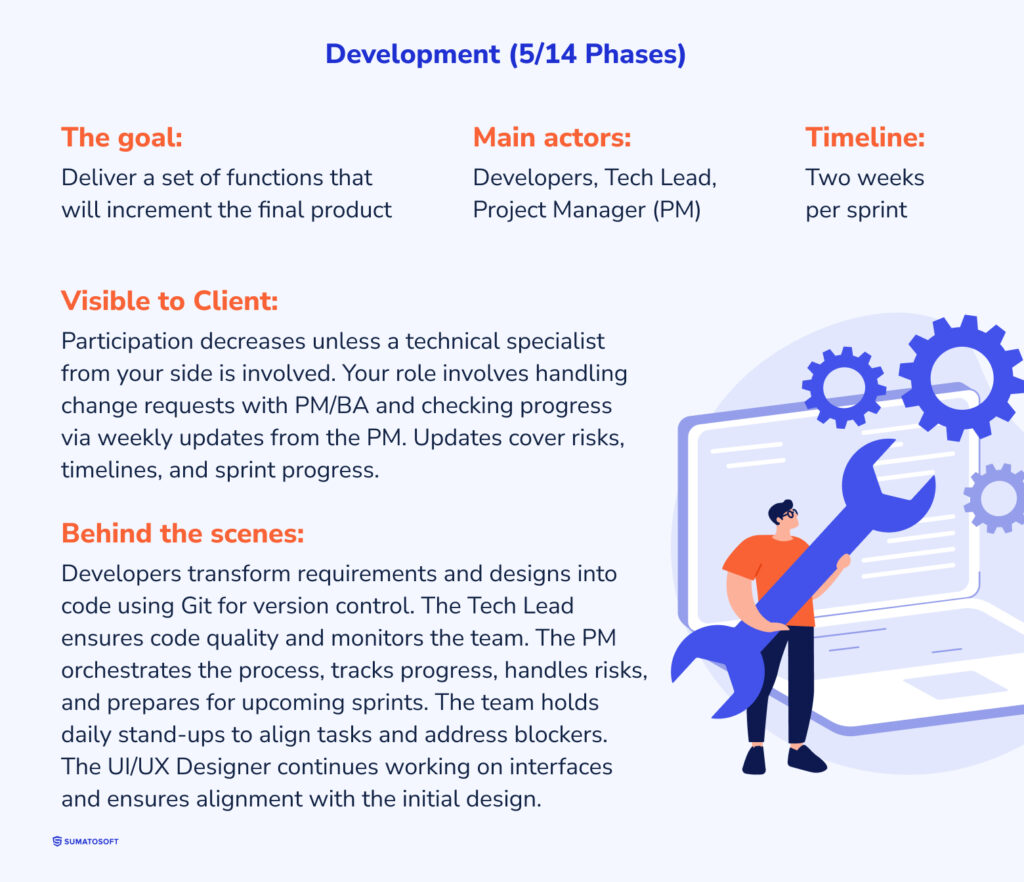
It’s Tuesday (most of the time), marking the start of our two-week development iteration called Sprints. A sprint consists of user stories, which are the smallest pieces of solution requirements. An example might be, “As a customer, I want to be able to reset my password so that I can regain access to my account if I forget it.”
The goal is to deliver a set of functions that will increment the final product.
The main actors are the Developers, Tech Lead, and Project Manager.
The timeframe is two weeks per sprint.
Visible to Client:
At the coding part, your participation is decreasing unless you have a technical specialist on your side. In that case, our Tech Lead will communicate with you on lots of different technical issues to discuss solutions we develop and just keep your technicians on track.
In other case, your participation will come down to two things here:
- If you find it necessary to change some requirements for the current or completed sprints, we call it a change request. To handle it, our PM and BA will hold a quick call or discuss the urgency and specifics in another format. For urgent changes, we assess potential solutions, align them with current priorities, and estimate the development time required. If the change is complex, we may need to adjust the sprint plan.
- Checking the progress. Once a week (the frequency can be adjusted), the PM provides ongoing status updates to keep you informed of project progress, any risks, and task timelines. These updates may cover new questions that arise, sprint progress, timing estimates, or any issues that might impact the progress.
Behind the Scenes:
The PM oversees the whole development process during the current sprint and ensures there are no blockers.
This step is the core part of the Sprint, where the Developers actually take care of Software Product Development and write the code. The distribution of duties here is simple: The developers write the code, the Tech Lead monitors the team and reviews the code, and the PM orchestrates the whole process. Here is a little more detailed breakdown of their work:
- Developers transform user interfaces in Figma from the UI/UX Designers and text requirements from the Business Analyst into a working product. They work in a version control system (Git), with each developer working one a new feature in a separate “branch.” This setup allows us to track changes easily and makes the product more resilient to errors.
- The Tech Lead reviews the quality of each developed user story before it is sent for the next step, testing. They also monitor the team, provide technical refinement, ensure the overall code quality, and communicate with you upon request.
- The PM goes above and beyond to ensure everybody understands what to do and has no obstacles. The PM tracks task completion, prepares information and estimation for the next sprint, handles change requests, tracks costs, monitors timelines and uses around 15 different techniques to stay on track. The PM also identifies risks, informs you of any potential issues, and strategizes mitigation plans.
- The team holds a 15 to 30-minute internal meeting each morning to discuss the day’s tasks and review progress from the previous day, ensuring alignment and addressing any blockers early.
- The UI/UX Designer continues preparing user interfaces for current user stories and reviews the developed user interfaces to ensure they adhere to the initial design concept.
To sum up, every team member is fully committed to bringing the project to life with the highest possible quality.
Test
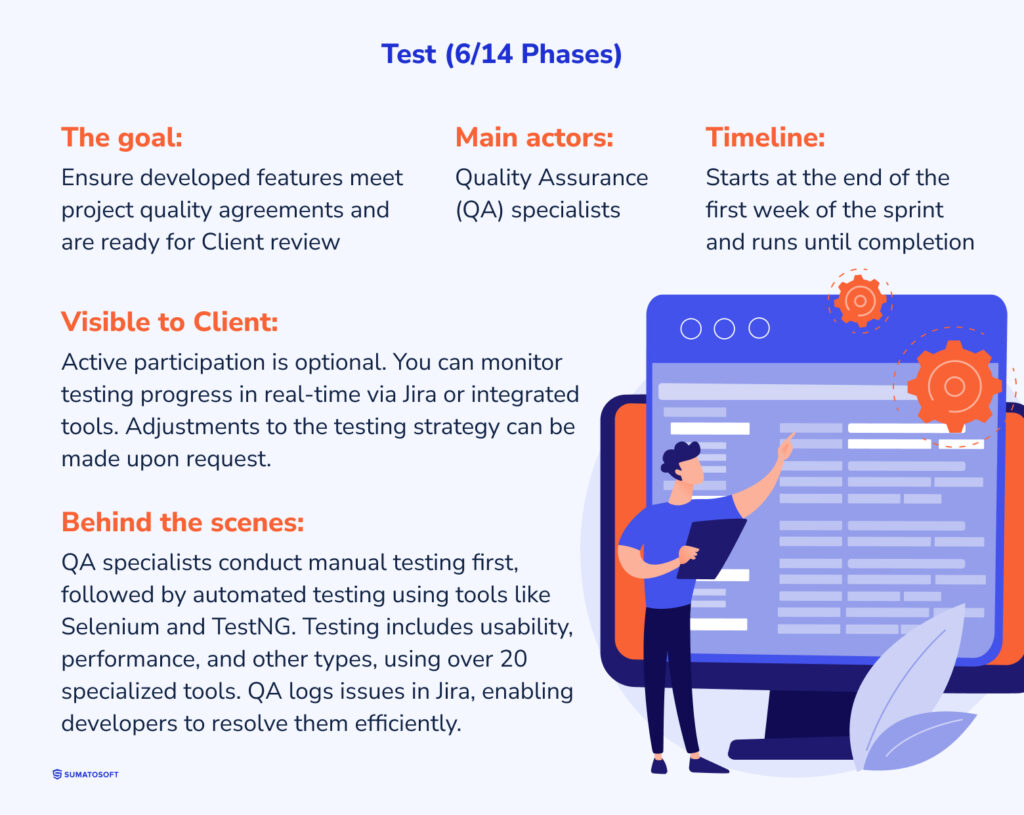
Once developers mark a user story as “developed” in Jira, QA specialists run software quality assurance and testing services. The level of QA involvement depends on the project’s complexity and budget. Typically, the ratio is three developers to one QA specialist; if the budget is lower, the QA specialist may participate part-time and test periodically. Read our article to understand the core positions in the QA team.
The main goal here is to ensure that developed features meet project quality agreements and are ready for Client review.
The main actors here are Quality Assurance (QA) specialists.
Testing usually starts at the end of the first week of the sprint and runs till its completion.
Visible to Client:
No active participation from your side here, optional activities only.
You can monitor the testing process in real-time through the Jira dashboard or, if integrated, in your own project management tools. As we’ve mentioned, we explain and agree on the QA strategy at Sprint 0, so you have a clear understanding of the quality measures in place at this step.
We can adapt the testing strategy based on your requests if needed. This plan is flexible, allowing for adjustments if new requirements arise or if you wish to change the budget allocation for testing.
Behind the Scenes:
Based on the agreed QA strategy with Quality Assurance & Quality Control definitions, we balance automated and manual testing to ensure the project’s quality. Manual testing always goes first when a user story is moved to the testing environment, while we prepare automated tests once it proves to be stable. We can then refer to automated tests whenever needed in future cycles.
For example, once code for a new user story moves to the QA environment, the Continuous Integration / Continuous Delivery (CI/CD) system automatically triggers available automated tests using tools such as Selenium, Maven, and TestNG to check that the new functionality doesn’t break existing features.
The manual testing process itself includes several steps:
- The QA specialist reviews the QA strategy to understand which types of tests are needed for the project.
- They examine the user story and related developer tasks that have been moved to testing, and then proceed with the appropriate tests.
Testing may involve various types, such as usability, accessibility, design testing, performance testing, accessibility testing, ad-hoc, security testing, and unit testing. Depending on the type of test, we use a range of tools along with formal standards, proven best practices, and internal guidelines. Our QA specialists are skilled in 4 automation tools and 18 manual testing tools, including iTools, Mockaroo, and Burp Suite.
The QA specialists attach identified malfunctions to tasks in Jira, allowing developers to address them in the next step.
Sprint Stabiliization
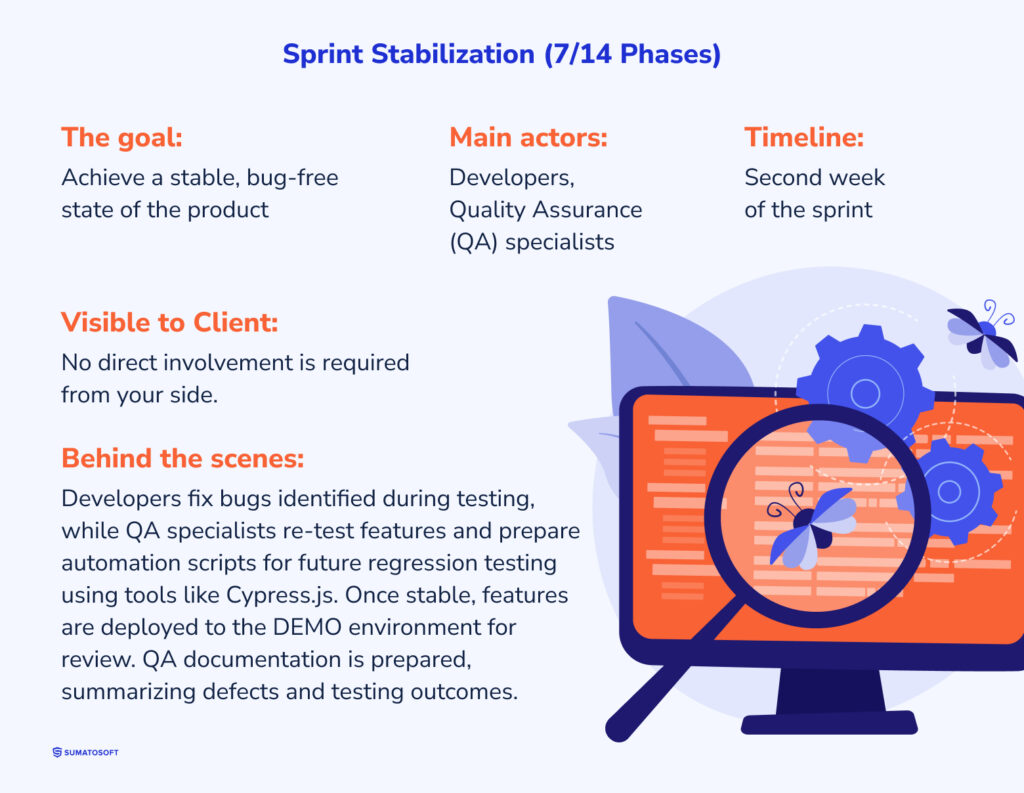
Sprint Stabilization is the phase focused on fixing bugs and bringing the sprint to a stable state, free of critical and major issues.
The goal here is to achieve a stable, bug-free state of the product.
The main actors are Developers and Quality Assurance (QA) Specialists.
This occurs in the second week of the sprint.
Visible to Client:
This step doesn’t require any direct involvement from you.
Behind the Scenes:
During this phase, developers focus on fixing any bugs identified in the earlier testing stage. QA specialists re-test the fixed features to confirm that bugs have been resolved.
Once a user story is confirmed as stable, QA prepares an automation script to include it in future regression testing. The ratio of manual to automated tests is based on the projected effectiveness of automation for each feature. For automation, we primarily use Cypress.js.
Once all bugs are fixed, we run the available automated tests again. After stabilization is completed, the user story is deployed to the DEMO environment, where it can be showcased during the demo meeting.
At the end of the testing step, we prepare QA documentation, which includes:
- a list of identified defects (bugs);
- a summary of testing results and our conclusions.
Demo
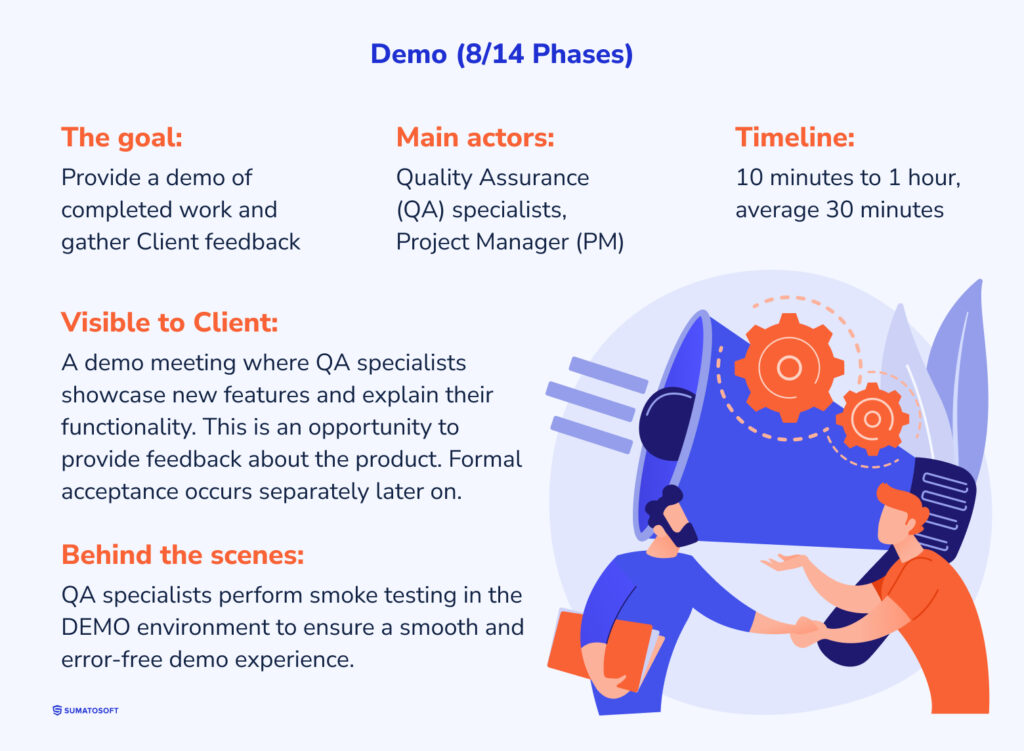
The Demo is a bi-weekly meeting where our team showcases the work completed during the sprint. This presentation usually occurs at the beginning of the next sprint, typically between Monday and Wednesday.
The goal of this meeting is to provide a demo of completed work and gather Client feedback.
The main actors here are Quality Assurance (QA) specialists and the Project Manager (PM).
The call typically takes 10 minutes to an hour, with an average of 30 minutes.
Visible to Client:
The demo meeting is the only activity here.
In this online meeting, the PM and QA specialists will walk you through what was accomplished in the previous sprint. QA specialists are often the ones to conduct the demo, as they are most familiar with the product’s functionality.
During the demo, a QA team member shares their screen and clicks through the new features, explaining how they work and addressing any questions. While this meeting provides an excellent opportunity for you to share feedback, formal acceptance of features and sprint usually happens later, rather than during the demo itself.
The demo is purely for demonstration of results, not acceptance.
Behind the Scenes:
Before the demo, QA specialists perform smoke testing in the demo environment, a quick, focused test to confirm that the main app functionality works smoothly and that new changes haven’t affected it.
In general, they double-check the product to ensure a seamless demo experience without unexpected errors and bugs.
Sprint Acceptance
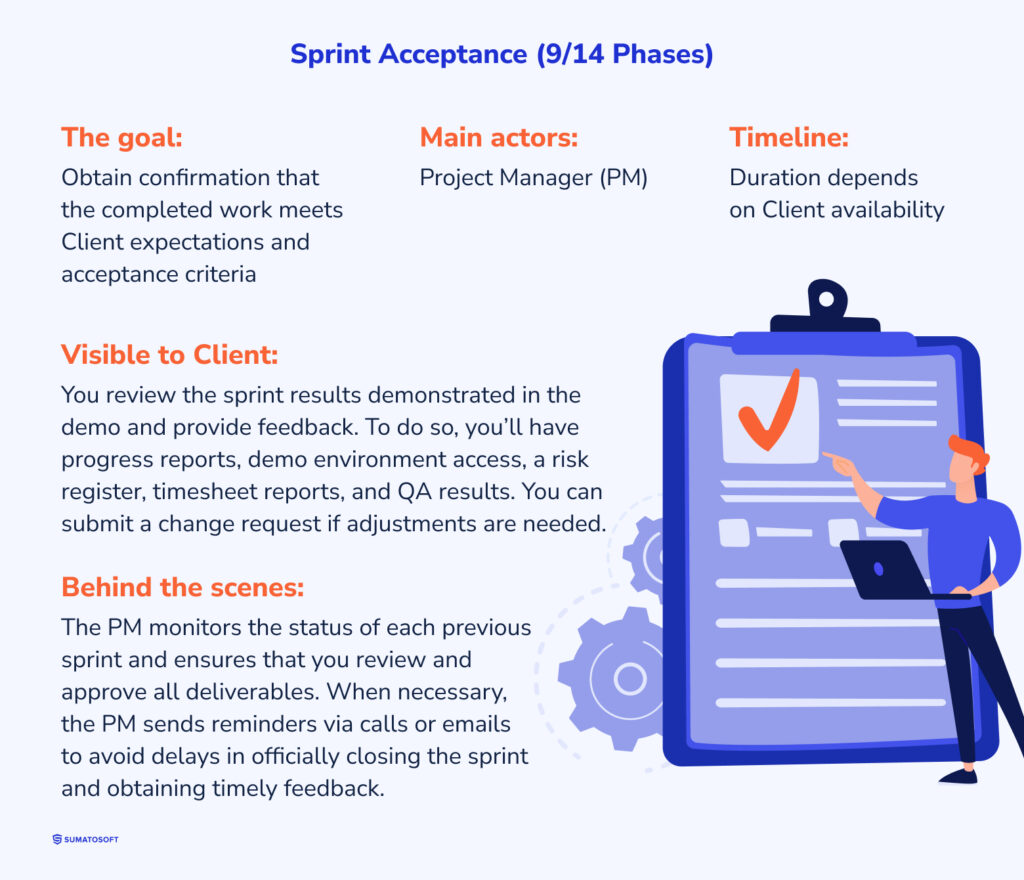
The Sprint Acceptance step occurs outside the regular two-week sprint cycle. It involves a responsible stakeholder accepting the sprint results. Acceptance criteria that were agreed upon at the beginning of the sprint come in handy here, making a sprint check much easier. This phase officially closes the sprint by confirming that the deliverables align with requirements and are ready for release.
The goal is to obtain confirmation that the completed work meets Client expectations and acceptance criteria.
The main actor here is the Project Manager (PM).
The duration of this step depends on the Client availability to check the sprint results.
Visible to Client:
Your feedback after each sprint is crucial for ensuring alignment between project deliverables and your expectations. Once we demonstrate the work in the demo, we encourage you to review it thoroughly. If you find any areas that need adjustments, you can submit a change request. In such cases, we review the change request against the acceptance criteria established for each user story during sprint planning to ensure clarity and mutual understanding.
To assist you in confirming the sprint results, we provide the following resources:
- Progress report – a summary of completed tasks and overall progress.
- Demo environment – where you can interact with the product in its current state.
- Risk register document – that outlines any identified project risks and their mitigation strategies.
- Timesheet report – tracks the hours and effort spent by the team.
- QA result report – contains information about the quality of the project.
Behind the Scenes:
Our PM monitors the status of each previous sprint and ensures that you review and approve all deliverables. When necessary, the PM sends reminders via calls or emails to avoid any delays in the sprint official close and get timely feedback from you.
Sprint Retrospective (Internal Activity)
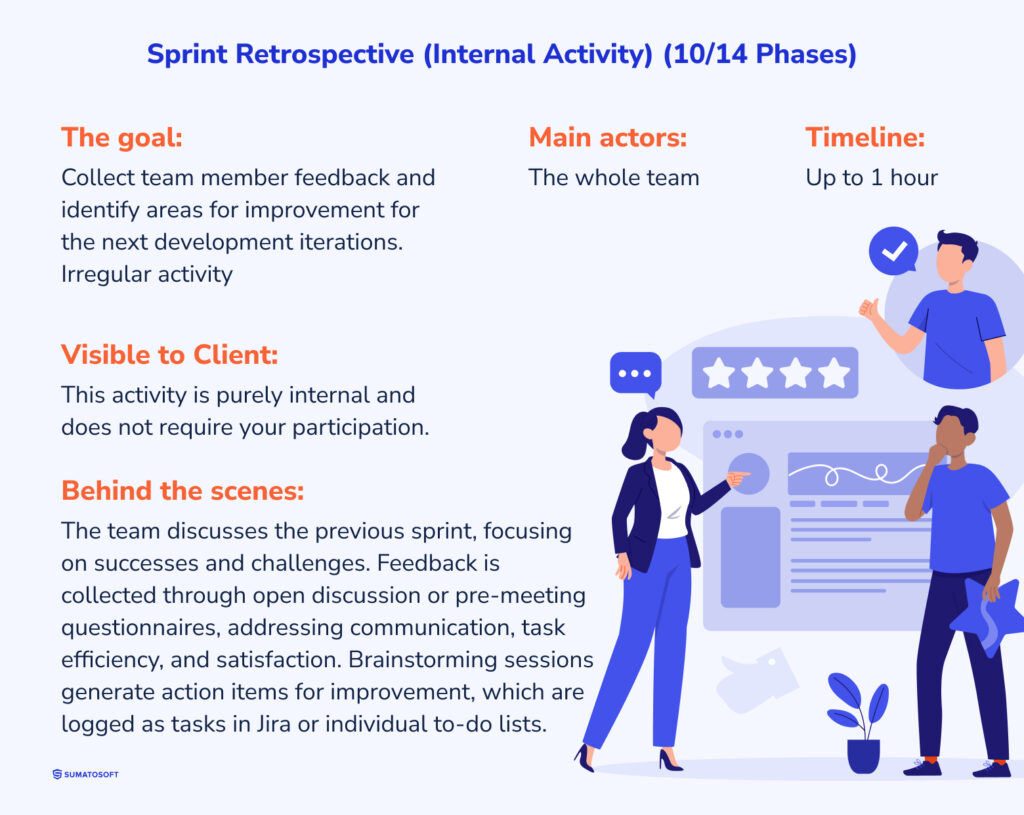
The Sprint Retrospective occurs irregularly outside a usual sprint cycle. It is an internal team meeting held at the end of the sprint when the project manager initiates the process of improving the project’s work performance.
Its main goal is to collect team member feedback and identify areas for improvement for the next development iterations.
The main actors here are the whole team.
It usually takes up to one hour.
Visible to Client:
This activity is purely internal and does not require your participation. However, the outcome may indirectly benefit the project by improving team processes and performance.
Behind the Scenes:
During the retrospective, the team discusses the previous sprint, focusing on both successes and challenges. Here’s what typically happens:
- The meeting starts with collecting team members’ feedback. It includes thoughts on what went well, what didn’t, and what could be improved. This can involve open discussions or a structured approach, such as a pre-meeting questionnaire. Questions to discuss here are communication flow, task efficiency, and overall sprint satisfaction.
- Brainstorm sessions where team members share ideas on potential process enhancements. This could involve new communication strategies, adjustments to task workflows, or improved coordination among team roles.
- Based on the discussion, specific action items are created. Some may be logged as tasks in Jira for tracking, while others may go on individual team members’ to-do lists as reminders for the next sprint.
Common retrospective questions include:
What went well? – Recognizing positive outcomes and practices worth repeating.
What should we have done better? – Identifying problem areas that need adjustment.
What can be improved? – Proposing actionable changes for the next sprint.
By holding retrospectives regularly, we address any recurring issues that may lead to our performance ineffectiveness.
Product Stabilization
This phase is focused on ensuring the whole product is fully refined, bug-free, and ready for the major release. Release means that we make the software available to end users in a live environment which we call a production environment. The product may be split into several releases if the Client plans to use intermediate versions for marketing purposes, or we prepare one big release for the whole product.
During this stage, we thoroughly test the product, clean up the code, fix any remaining bugs, and, if necessary, perform refactoring to improve the codebase.
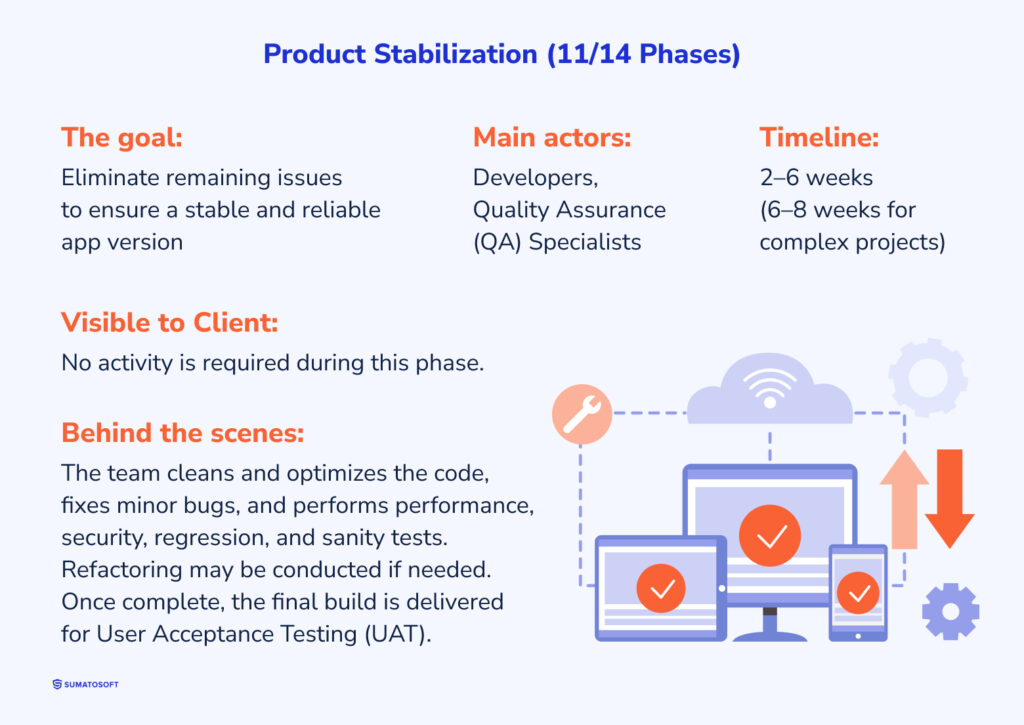
Our goal is to eliminate any remaining issues, ensuring a stable and reliable app version.
The main actors are Developers and Quality Assurance (QA) Specialists.
It takes from 2 to 6 weeks. Complex projects might require 6-8 weeks.
Visible to Client:
No activity is required during this phase.
Behind the Scenes:
Here, we focus on quality assurance and system refinement. During this phase, we:
- clean and optimize the code;
- fix minor bugs;
- run performance and security tests before the release;
- run regression tests for stories where automation was applied;
- run a sanity test to check that the core functionality works as expected;
- may perform refactoring if necessary, which is the process of restructuring existing code to improve its readability, maintainability, and efficiency without changing its behavior.
Once stabilization is complete, we deliver the final build to you for User Acceptance Testing (UAT), allowing your team to test the product’s operation as a whole.
UAT
User Acceptance Testing (UAT) is the final step before moving to production, where the Client’s team thoroughly tests the product to ensure it meets their requirements and performs as expected. During this phase, the Client reviews each pre-approved test scenario, validating the product in a real-world context. Any issues identified are addressed, and the build is refined to ensure it is ready for release.
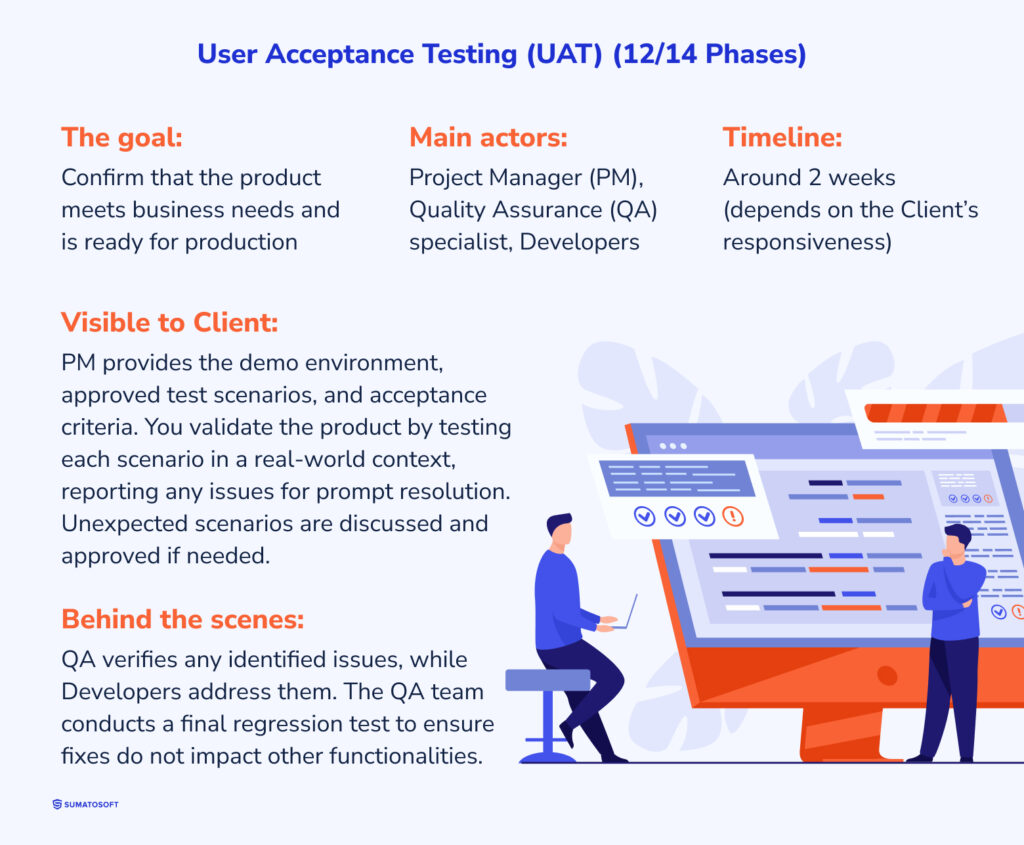
The goal of this step is to confirm that the product meets business needs and is ready for production.
The main actors here are the Project Manager (PM), Quality Assurance (QA) specialist, and Developers.
UAT takes around 2 weeks, but the exact time depends on the Client’s speed to test and accept the results.
Visible to Client:
There is some serious work to do here for you.
PM notifies you that the demo environment is ready for the final test and sends you all approved test scenarios and their acceptance criteria once again. You can run through each approved test scenario, validating that the product works as you expect it to do. This step is vital to ensure that the product operates well in the real-world context.
Occasionally, new unexpected scenarios might appear during testing. These scenarios are discussed and approved to ensure thorough coverage.
If any issues or bugs are discovered, our Developers address them promptly.
Behind the Scenes:
Our QA team is in close touch to verify any discovered bug or issue. After addressing issues found in UAT, we run a final round of regression testing again to verify that the fixes haven’t affected other functionality.
Deployment or Release
Deployment means that we move the product to a live environment, making it accessible to end users. This step marks the end of the Development phase and the start of the Support and Maintenance phase.
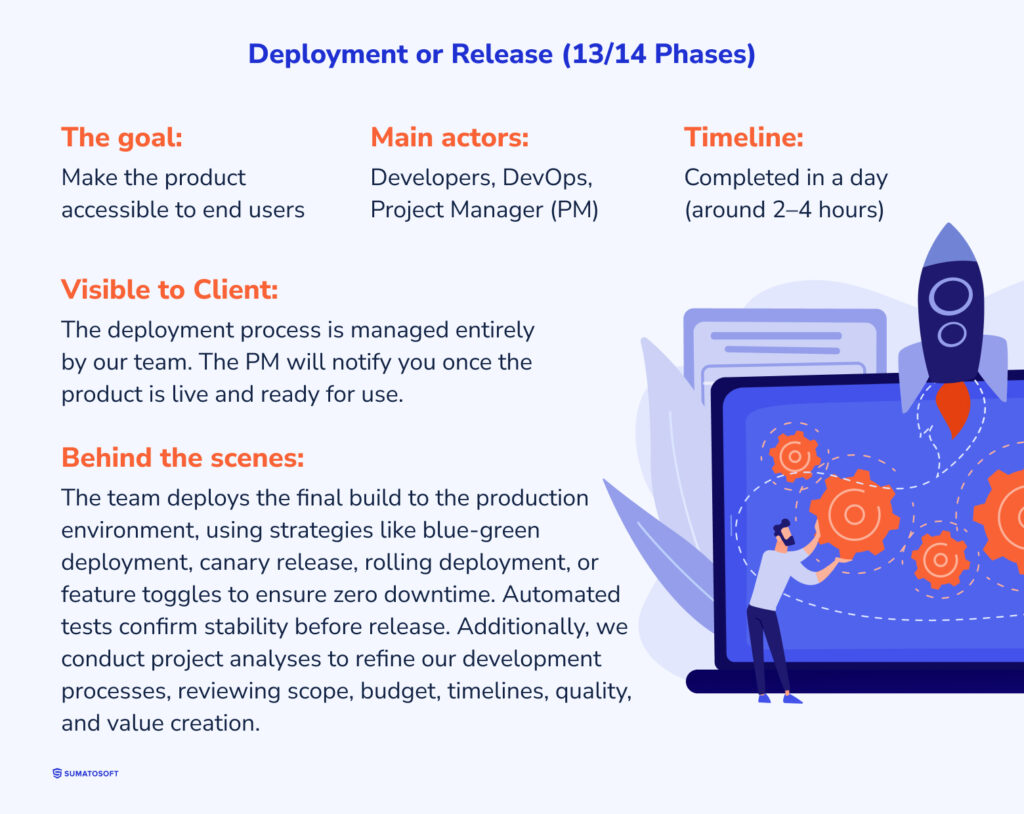
The goal is to make a product accessible to end users. We call it to release the product.
The main actors are Developers, DevOps, and Project Manager (PM).
It’s completed in a day and takes around 2-4 hours.
Visible to Client:
The deployment process is managed entirely by our team, requiring no direct involvement from your side. PM will inform you once the product is live and ready for use.
Behind the Scenes:
Our team deploys the final build to the production environment. It may be publishing the mobile application in the app store, deploying the code to a web server to make it accessible through a link in the browser, or installing software in your internal environment for private use.
If the solution is split into several releases, we use Zero Downtime Deployment strategies to ensure that users experience no interruptions while using the app. We leverage 4 different approaches:
- Blue-green deployment – duplicate environment is set up (the “green” environment) to which the new version is deployed. Once it’s verified, traffic is switched from the old (“blue”) to the new environment.
- Canary release – the update is rolled out to a small subset of users first to monitor its performance before a full release.
- rolling deployment – the product is gradually updated across servers, reducing the impact on availability.
- feature toggles (Flags) – specific features can be turned on or off, allowing new features to be deployed in the background without affecting users immediately.
Before releasing to production, we run all automated tests one final time to confirm the system’s stability and functionality.
As an additional internal activity, we conduct project analyses to refine our development process. This practice, which we’ve honed over 12 years, allows us to improve from project to project – and don’t worry – there’s no charge for this.
We review whether we delivered within the agreed scope, budget, and timelines, assess if the quality meets our standards, evaluate your satisfaction with the results, and examine the project’s ability to create lasting value and adapt to future changes.
Post-Deploy Support
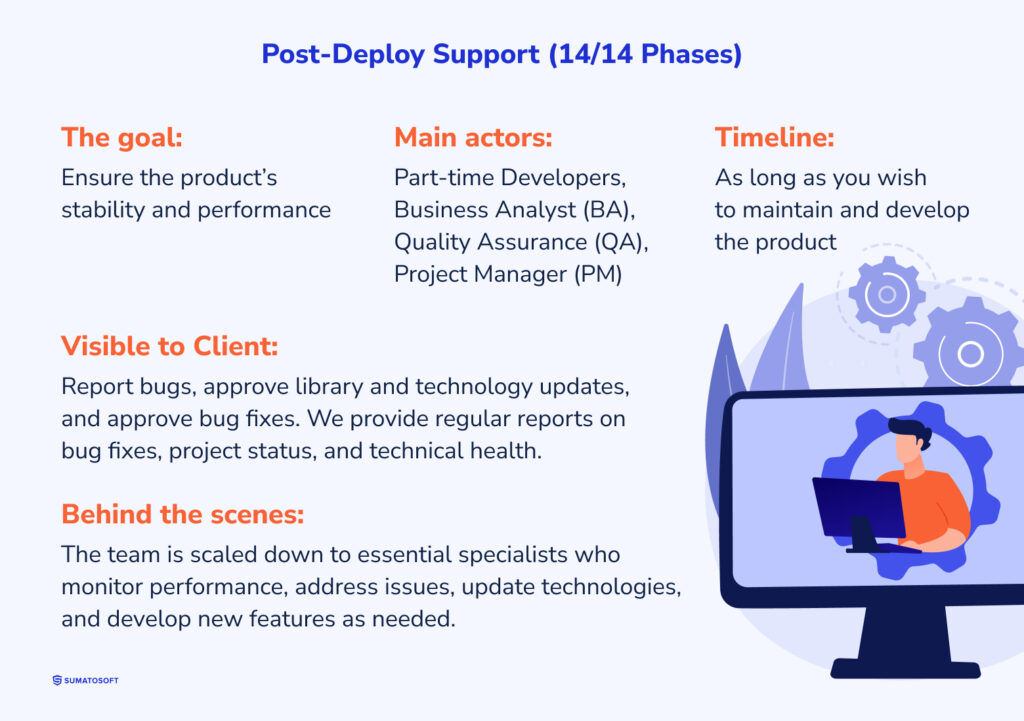
Our cooperation doesn’t necessarily end after deployment. We offer ongoing maintenance and support for the product and work on new features.
The goal is to ensure the product’s stability and performance.
The main actors here vary but usually include part-time Developers, a Business Analyst, a Quality Assurance specialist, and a Project Manager (PM).
The time period lasts as long as you want to maintain and develop your product. We have Clients that have cooperated with us for 5+ years.
Visible to Client:
Here you can report bugs if you find any, approve library and technology updates, and approve bug fixes. We keep sending reports about bug fix and the project status and overall technical health.
Behind the Scenes:
The main project team is scaled down to a minimal capacity, retaining only essential specialists to provide ongoing support and ensure uninterrupted operation.
Our team continuously monitors the product’s performance and addresses any bugs or technical issues as they arise, updates the product technologies, and develops new features if necessary.
Afterwards
This document outlines the 14 phases of our project workflow. We’ve carefully honed this process since 2012, eliminating inefficiencies and introducing new methods and tools. Each modification was made to ensure the successful delivery of a high-quality, stable, and user-ready product while building transparent collaboration between our team and yours.
We don’t claim this process to be perfect since such a statement would halt our further growth. However, we are confident that this process can benefit businesses and will do our best to refine it even better. We look forward to supporting you at every stage of your product’s journey. Should you have any questions, our team is always here to assist!
Let’s start
If you have any questions, email us info@sumatosoft.com

