Ruby on Rails consulting and development company
With a decade of excellence, tens of completed courses, hundreds of developed projects, countless professional articles read, and thousands of hours worked, we’re your go-to team for custom Ruby on Rails software development and Ruby on Rails consulting. Reach out to us to get started.
Our top-tier Ruby on Rails development services
From supporting and modernizing legacy systems to custom development from scratch, within tough budgets and short timeframes, or in the long run with multiple iterations and continuous improvements, we deliver expert Ruby on Rails services to all businesses, helping them thrive in the digital world.
Development from scratch
We build powerful, efficient, and scalable applications with a solid foundation using Ruby on Rails. From ideation to deployment, we handle the entire development lifecycle to create custom solutions tailored to your business.
Vendor transition
Seamlessly transition from your current vendor to our expert ROR team. We ensure a smooth handover of your project with minimal disruptions in operations, keeping your business up and running during the transition period.
Legacy app modernization
Ruby on Rails brings multiple benefits, and it’s worth considering moving your system to this technology. We help establish KPIs after modernization and upgrade your legacy applications with Ruby on Rails.
Code review & security assessment
Have doubts about whether your application is secure? Our expert team conducts thorough code reviews, identifies vulnerabilities, optimizes performance, and ensures it is clean, secure, and free of unnecessary redundancies.
Dedicated developers
Get access to a dedicated team of ROR developers who work as an extension of your in-house team. We provide ongoing support, development, and Ruby on Rails consulting services tailored to your project’s needs.
AI Integration
Plan to implement the power of AI? It’s easier with an expert team at your disposal! We help integrate OpenAI’s latest models into existing or new applications, develop new AI-backed functionality, improve user experience, and much more.
Support & Maintenance
We help to keep your ROR application running smoothly with our proactive support and maintenance services. We handle everything from bug fixes to updates and security patches, ensuring your application stays up-to-date and secure.
Transform Your Ideas into Reality
Let our RoR specialists bring your vision to life. Click here to begin!
Ruby on Rails development for businesses of any scale
MVP development for startups
Ruby on Rails is a great choice for startups because it offers rapid development, scalability, and cost-effectiveness. Its convention-over-configuration philosophy speeds up the development process, allowing startups to quickly bring their ideas to life while keeping the codebase clean and maintainable. Our Ruby on Rails expertise ensures your project stays on track, on budget, and ready for growth. In our experience, an MVP can be built for 6-8 weeks.
RoR Development for SMBs
We help SMBs build high-quality, custom web applications that grow with their business. SMBs can benefit from Ruby on Rails thanks to its secure, high-performance nature and a robust ecosystem of tools and libraries that can meet any business need. Whether you’re just starting or looking to expand, we’re here to support your business at every stage.

Enterprise software
For large-scale enterprises, Ruby on Rails delivers high performance and security. It efficiently handles high-volume traffic, integrates seamlessly with existing infrastructure, and supports demanding business logic with ease. As a top Ruby on Rails web development company, we specialize in enterprise-level Ruby on Rails development, helping companies optimize workflows, enhance customer engagement, modernize legacy systems, and add new modules to existing applications. Our goal is to ensure that enterprises stay ahead in a competitive market.

Ruby on Rails consulting services
Our Ruby on Rails consulting services guide you through every step of project development, whether you’re building an app from scratch or optimizing an ongoing project. We provide expert advice on architecture, tech stack, performance issues, cloud and on-premise infrastructure, security measures, and more. As a ruby on rails consulting company, we help you avoid common pitfalls, apply proven methods and techniques, and achieve long-term success. Our Ruby on Rails consulting services will help in the following cases:
App from scratch
If you’re starting from the ground up, we offer comprehensive Ruby on Rails consulting to help you plan, design, and develop your application. We ensure your app’s foundation is solid, scalable, and ready for future growth.
Ongoing project
For existing projects, our experts help optimize your Ruby on Rails app’s performance, enhance security, and integrate new features. Whether you need to refactor code, scale your infrastructure, or improve user experience, our Ruby on Rails consulting services ensure your project stays on track and delivers results.Vv
Maximize Your ROI with RoR
Find out how Ruby on Rails can reduce costs and increase efficiency. Request more information!
About SumatoSoft
We, at SumatoSoft, have become a trusted Ruby on Rails development company with over 14+ years of experience in delivering high-quality custom software solutions. Ruby on Rails development services are our core competence, as this technology provides the necessary tools and meets our internal requirements, allowing us to deliver solutions that drive business results at a competitive price.
We are committed to providing exceptional results thanks to our well-established development processes, talented Ruby on Rails developers, corporate values, deep technical knowledge of modern technologies, and extensive experience in delivering simple and complex solutions for more than 12 industries.

For 14+ years now we have been responsible for your projects and we are proud of it!
Why Clients choose to work with SumatoSoft
Trusted by top companies
SumatoSoft has built a solid reputation by delivering exceptional software solutions to top companies across various industries. Our Clients include international giants such as Toyota, Biersdev, and World Bank Group.
Highly reliable
As a top RoR company, we have established development processes that ensure high-quality software delivery on time and within budget, guaranteeing you the expected results.
Long-term-oriented
We focus on long-term cooperation. 70% of our Clients come back to us with another project. Our solutions are designed to scale and grow with business, while maintenance services allow us to adjust the software to the evolving business needs.
Diverse range of talent
70% of our team is made up of senior-level specialists who ensure the app complies with domain best practices and our inner quality assurance guidelines. From business analysts and project managers to expert Ruby on Rails developers and UI/UX designers, we have the right skill set to meet any project’s needs.
Expertise in Ruby on Rails
Ruby on Rails is one of our core areas of expertise. Over a decade, we have developed software solutions for more than 12 industries, accumulating knowledge and best practices that can’t be found elsewhere.
Business goals focus
At SumatoSoft, we prioritize your business goals. We take the time to understand your objectives and align our solutions to drive tangible business outcomes. Every requirement that goes to development is passed through a validation and verification step where we double-check that it will bring real value to the business.
Cutting-edge technologies
We stay ahead of the curve by integrating cutting-edge technologies into our solutions. Whether it’s AI, blockchain, Big Data, or IoT, we continuously explore and adopt the latest technologies to ensure that your software remains competitive, efficient, and innovative.
Transparent communication
Clear, open communication is at the heart of our project management process. We provide regular updates, show demos of the work done, send detailed reports, involve you in key decisions, provide our recommendations, and maintain full transparency throughout the development cycle.
Cooperation options we offer
Software development outsourcing
Outsourcing implies entrusting the entire software development process to our ruby on rails development team. We assemble a group of specialists, including business analysts, designers, Ruby on Rails developers, and QA experts. This team moves through the development process from business requirements elicitation, UI/UX design, software development, quality assurance, and deployment, while you provide input, set goals, and monitor the progress.
Staff augmentation
This option involves our Ruby on Rails specialists joining your workforce, bringing the skills required for your project. This model is ideal for companies with existing teams that need additional expertise or resources for short-term projects, allowing you to fill skill gaps without the commitment of permanent hires.
Dedicated team
A dedicated team of Ruby on Rails developers that is fully managed by your project manager. Unlike staff augmentation, where specialists are brought in for specific tasks, a dedicated team manages the entire development process—from business analysis to quality assurance—while you retain control of overall management. This model is best suited for long-term projects that extend beyond a year.
Build Better, Faster
Experience rapid development with Ruby on Rails. Contact us for a free project estimate!
Hire our expert Ruby on Rails developers to take your software to the next level. Whether you need us to develop a Ruby on Rails application from scratch or provide consulting on how to best apply RoR technology to your business challenges, we’ve got you covered.
We deliver Ruby on Rails services that help businesses achieve their goals faster and more efficiently. Our Ruby on Rails development team uses the latest technologies and methodologies, follows best practices, understands industry-specific nuances, and is passionate about developing applications that deliver true business value. Contact us today and hire RoR developers to see this awesome technology’s benefits.

How we hire RoR developers
Our hiring process is a carefully elaborate framework that allows us to find and hire the top 10% of the most skilled and qualified Ruby on Rails developers.
Our HR department thoroughly reviews the CVs to understand their experience, skills, education, and background. We have our internal standards that candidates must meet.
Those who pass the initial screening are invited to participate in the pre-screen call, where we evaluate their background, motivation, and goals.
The technical interview follows. Here, we assess the candidates’ hard skills, including technology knowledge, problem-solving abilities, awareness of best coding practices, and more.
Once the technical interview is passed, we proceed with the business interview to assess their problem-solving approach, teamwork preferences, and alignment with company culture.
This is our internal evaluation step, during which all participants in the hiring process discuss and evaluate the candidate’s performance, skills, and cultural fit. We ensure that only the best candidates are selected.
A new team member undergoes a probation period during which we evaluate the candidate’s ability to work in a real work environment with our team. Only after the successful pass of this period, we are ready to hire a RoR developer.
Upon successfully completing the probation period, we officially hire the Ruby on Rails developer and they join our team and contribute to our and the Client’s success. Our Clients can interview our developers to ensure they meet your expectations.
Enhance Your Web Applications
Optimize your site with our high-performance Ruby on Rails services. Get a quote now!
Tech expertise behind Ruby on Rails services
Ruby on Rails is primarily a backend web application development framework. It handles server-side logic, database interactions, and backend architecture. So, we use it in conjunction with other modern technologies like React, PostgreSQL, Redix, and other to develop applications for various needs and goals.
Web frameworks
These are ready-made development tools that provide the necessary capabilities to streamline both the frontend and backend development process, and cut development time and costs.
- Ruby on Rails
- NodeJS
- ReactJS
- VueJS
- Gatsby
- Ember
- Electron
Databases and libraries
Databases and complementary libraries allow us to store, retrieve and manipulate data. We use technologies that enable fast, reliable data handling, improve data access performance, and simplify querying and migrations.
- PostgreSQL
- Redis
- Elasticsearch
- MySQL
- MongoDB
- ActiveRecord
Testing and development tools
These tools serve one purpose – to increase code quality and streamline deployment and development. They allow Ruby on Rails developers to verify application functionality and performance, ensure code integrity, rescue errors in production, and catch bugs early.
- RSpec
- Capybara
- Cucumber
- Cypress
- Apache JMeter
- Git
- GitHub
- GitLab
- Bitbucket
- CircleCI
- Docker
- Docker Compose
- Webpack
Additional libraries and tools
Different complementary tools which proved to be valuable over time and became a part of our development process.
- Sidekiq
- ActionCable
- jQuery
- React
- Vue.js
- AWS
- Heroku
- DigitalOcean
- Golang
- React Native
Our advanced tech expertise
Let’s Talk RoR
Discuss your project with our Ruby on Rails experts. Schedule your free consultation today!
How can Ruby on Rails collaborate with iOS, Android, and JavaScript Libraries?
Ruby on Rails is a great choice for the backend of applications, while other technologies handle the frontend. We use it alongside native technologies to develop applications for iOS and Android, as well as with other JavaScript libraries to build multiplatform applications. In our Ruby on Rails consulting services, we describe the technology implementation for a specific business case. But in general, see 4 examples below:
Example 1: Ruby on Rails with iOS
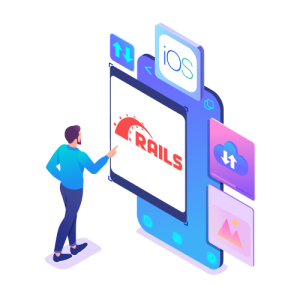
RoR can be integrated with iOS applications for backend services. Using Ruby on Rails as an API backend, iOS apps can handle tasks like user authentication, data storage, and business logic.
Example 2: Ruby on Rails with Android
Similar to iOS, Android applications can use Ruby on Rails for their backend infrastructure. Ruby on Rails can manage database interactions, user sessions, and other server-side functionalities for Android apps. The Android app and the RoR backend communication is typically done via APIs.

Example 3: Ruby on Rails with React
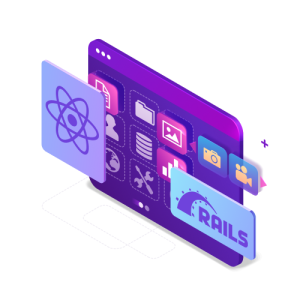
React, a popular JavaScript library for building user interfaces, is often used with RoR for creating dynamic and responsive front-ends. Ruby on Rails can serve as the backend, managing data and business logic, while React handles the frontend, creating a seamless and interactive user experience. This combination is particularly powerful for single-page applications (SPAs).
Example 4: Ruby on Rails with Flutter
Flutter is an open-source UI software development kit created by Google. It is used to build natively compiled applications for mobile, web, and desktop from a single codebase. When combined with Ruby on Rails, Flutter can serve as the front end for both iOS and Android apps, while Rails provides a robust backend.

Check RoR products we have successfully launched
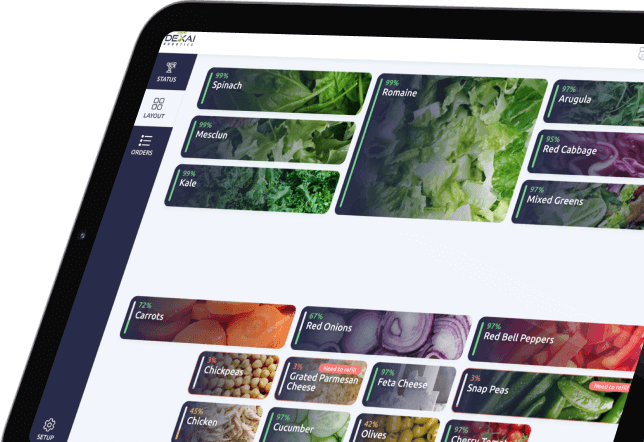
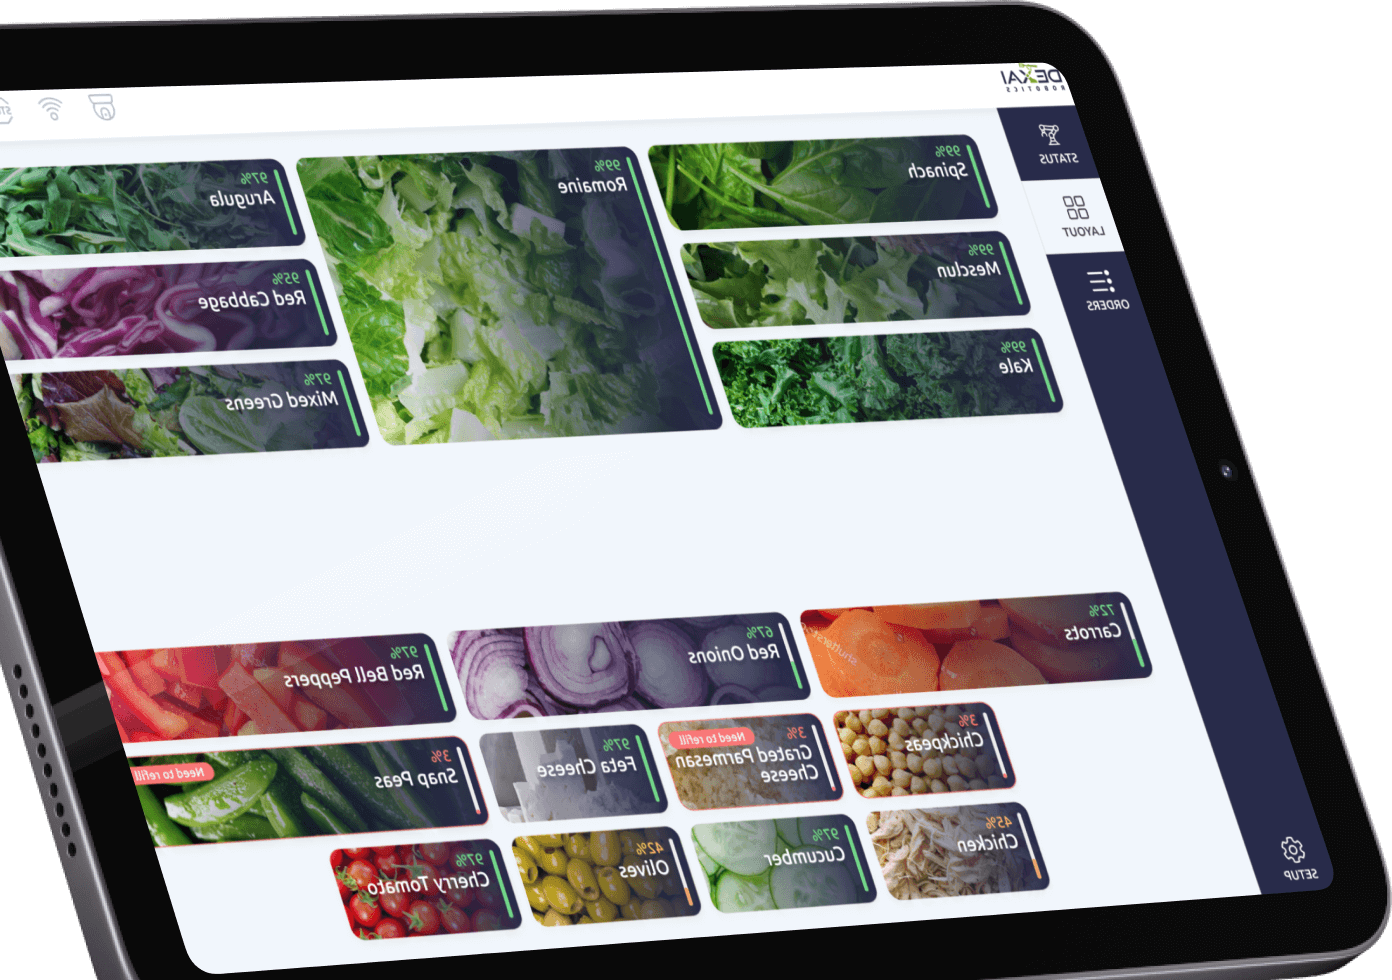
Graphical user interface for robot operation
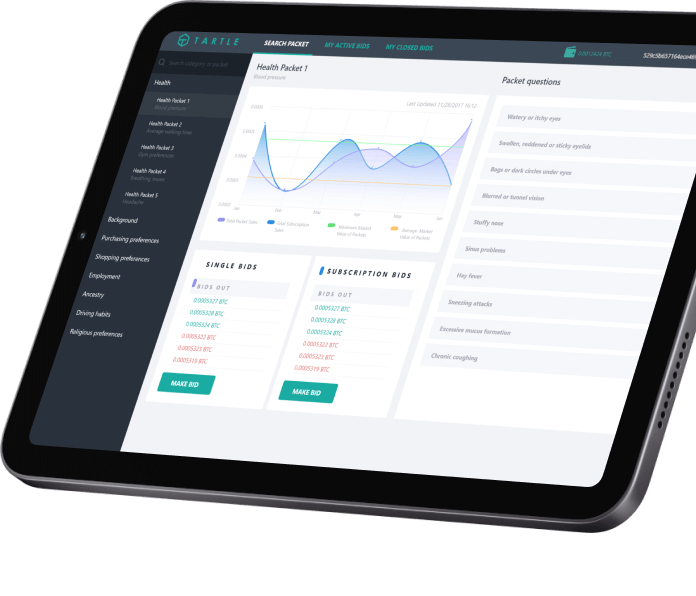
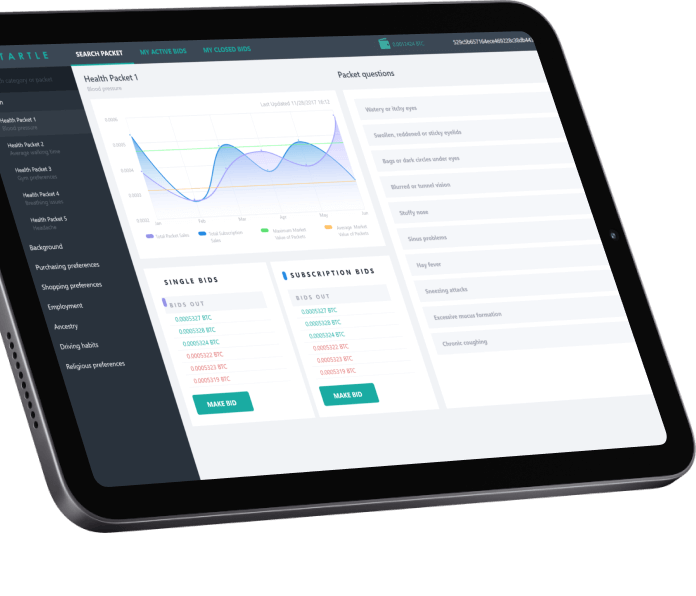
Innovative big data trading platform
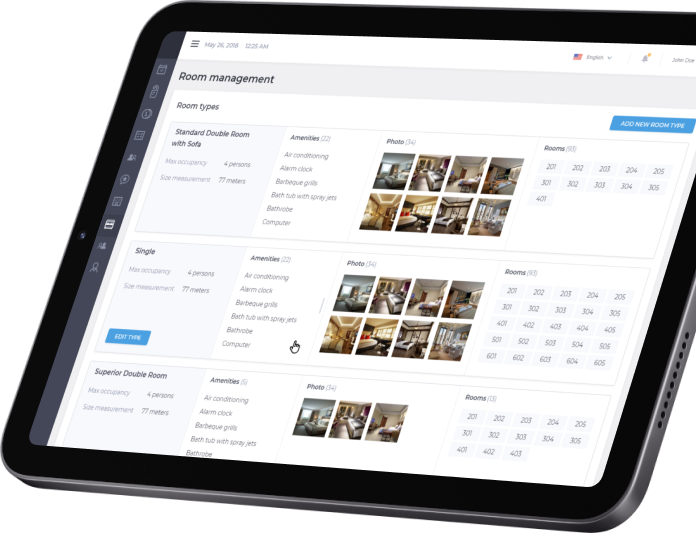
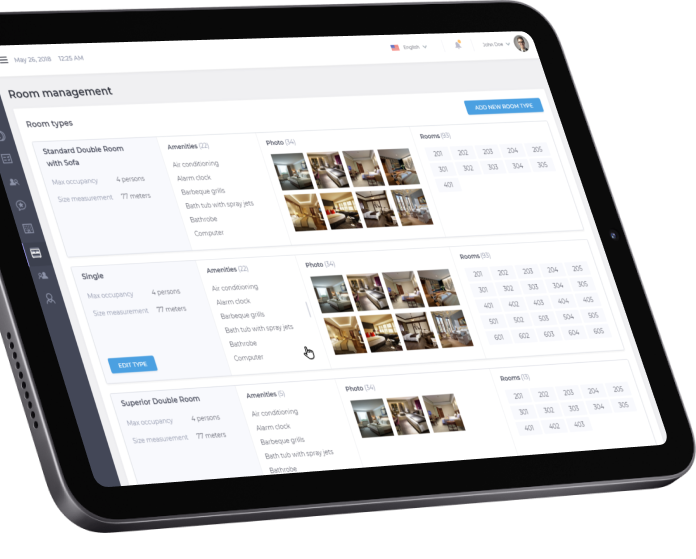
Smart hotel management system
Join Our Success Stories
Trust in our proven track record. Start your Ruby on Rails project with us now!
Why businesses choose Ruby on Rails
Ruby on Rails offers a powerful combination of features that allows any Ruby development company to build high-performance applications.
Speed
Scalability
Security
Performance
Flexibility
Cost savings
Efficiency
Gems ecosystem
Community support
Pricing models we follow
Fixed price
The Fixed Price model involves a predefined contract sum, paid in installments. The benefit of this model is high predictability, as developers commit to delivering a specific scope within a fixed budget. However, this model is inflexible since both the scope and budget are fixed.
Time & Material
The Time & Material model is a flexible approach to cooperation where the billing is based on actual development efforts (person-hours worked). It’s ideal for projects with unclear scores, evolving requirements, or a huge system with many uncertainties. This model is ideal for long-term projects.
Dedicated Team
Our RoR developer specialists, adept at addressing US business requirements, integrate seamlessly into your team. Billing is based on hourly rates, reflecting the value we bring to North American businesses with our dedicated team model.
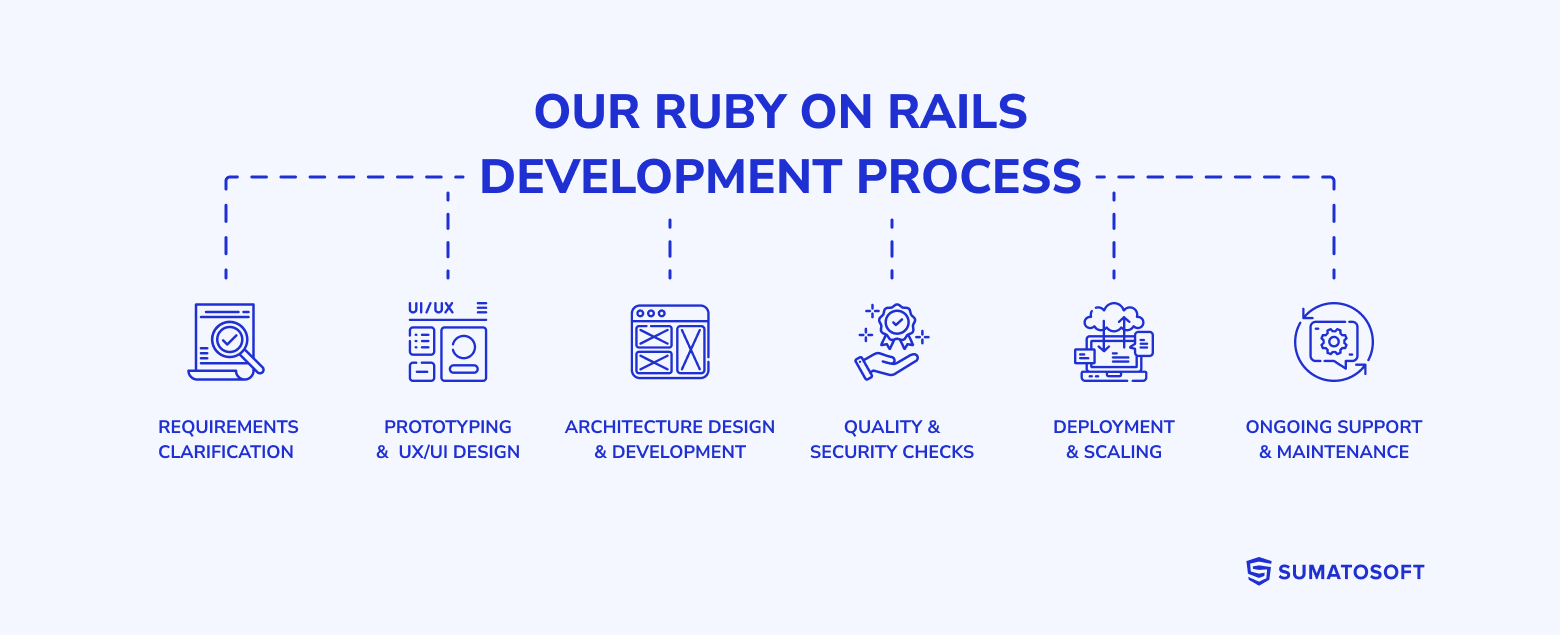
Our Ruby on Rails development process
We are proud of our well-established development processes, which we have refined for over a decade. These processes allow us to optimize resources, enhance development efficiency, cut development time, and ensure overall project success.
Requirements clarification
We start by analyzing the existing information and understanding the business landscape and project vision. This includes:
Prototyping & UX/UI Design
We design interfaces with several ideas in mind: they must be helpful and intuitive, the design should be visually appealing, and the application should look better than competitors’. To ensure this, we:
Architecture design & development
In this phase, we build a robust, scalable backend using Ruby on Rails and develop the frontend using other modern frameworks and technologies.
Quality & security checks
Testing is integral to our process to ensure quality, performance, and security. We follow best industry practices, including automated and shift-right testing, while incorporating CI/CD pipelines.
Deployment & scaling
We handle deployment, app growth, and scaling as part of our Ruby on Rails development services.
Ongoing support & maintenance
Post-launch, we provide long-term support to ensure your application remains stable, secure, and up-to-date.

Your project starts here.
We’re ready to sign NDA
RFP analysis is absolutely free
We will respond to you within 24 hours

Frequently asked questions
What makes Ruby on Rails (RoR) ideal for web development at SumatoSoft?
RoR is favored for its rapid development capabilities, robust framework, and strong community support. At SumatoSoft, we leverage RoR’s conventions to build scalable, maintainable, and efficient web applications quickly.
Can SumatoSoft develop large-scale enterprise solutions using Ruby on Rails?
As a Ruby on Rails development company, we specialize in using Ruby on Rails to create scalable and robust enterprise solutions. The modular design of RoR and its proficiency in handling high traffic make it exceptionally suitable for developing large-scale applications.
How does SumatoSoft handle scalability challenges in Ruby on Rails applications?
We design RoR applications with scalability in mind, using best practices in database design, caching, and cloud services to ensure that the applications can grow alongside your business needs.
What other technologies do you use in addition to Ruby on Rails?
For frontend development, we work with frameworks like ReactJS, VueJS, and Gatsby. On the backend, we use NodeJS, PostgreSQL, Redis, and Elasticsearch. We also integrate testing tools like RSpec and Docker, along with additional tools like AWS, React Native, and Golang for comprehensive solutions.
How much do you charge?
Our pricing varies depending on the project’s scope, complexity, and timeline. As a top ruby on rails development company USA, our average hourly rate is 55$, but the exact cost of the whole software development is calculated after examining the details of your project.


